Introduction
In this article we learn that how to create an offline installer for Visual Studio 2017. Recently Visual Studio 2017 version 15.8 Released and then i have updated Visual Studio 2017 on my laptop. I have another machine which does not connect with high speed internet so I need to install Visual Studio through offline installer (ISO).
Microsoft designed Visual Studio 2017 installer to install specific modules (workload-based model) and allows to install minimal set of features to start development using Visual Studio.
Create Visual Studio 2017 offline installation media
Step 1 – Download the Visual Studio installer setup
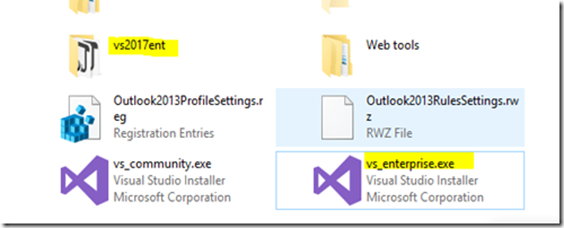
It is recommended to use Visual Studio web installer because it will always install/ update to the latest version of the Visual Studio 2017.

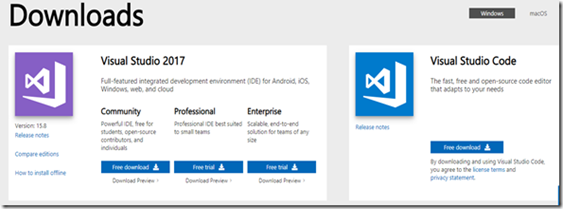
Download the latest version of Visual Studio 2017 Web installer by clicking below links
Visual Studio Community 2017 | Visual Studio Professional 2017 | Visual Studio Enterprise 2017

Step 2 – Create/ Download installation setup files
To create updated version installation for Visual Studio, use the below command create or update the existing installation layout to a newer version. You don't have to specify any additional command-line parameters.
vs_enterprise.exe --layout d:\vs2017ent
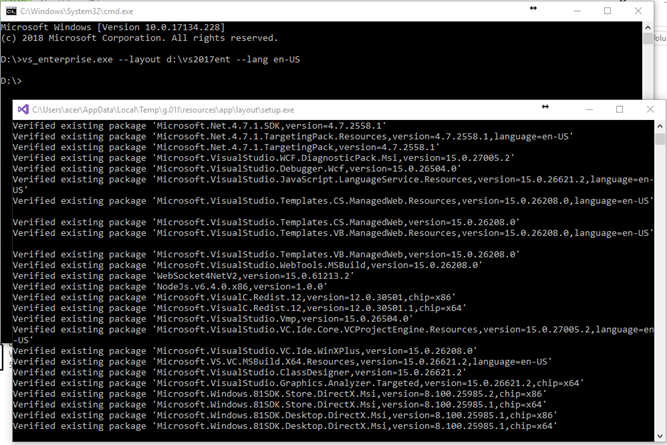
It will create a complete local installation media for Visual Studio 2017 with all features and definitely it will take lots of time to download all the work loads.
You can also specify the language at the Visual Studio to download so that it will download installation files for the specified set of languages only
vs_enterprise.exe --layout d:\vs2017ent --lang en-US
In my case, I have already downloaded Visual Studio 2017 installation files earlier. This time I need to update this installation layout to transfer update on my offline computers.

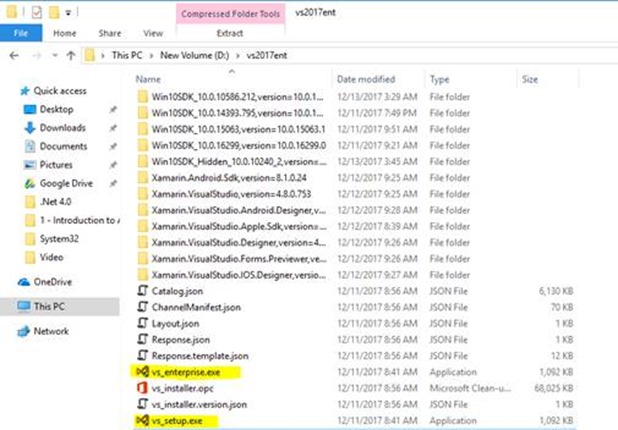
Once the offline installation files saved at the specified location then transfer it on another computer and ready to install the Visual Studio 2017.

Click the vs_setup.exe file to start the installer then install the Visual Studio after selecting the required development environment features you want to install.
Clean up previous version obsolete package
During the update process of existing Visual Studio installation files, my computer drive gets full and some of the packages failed to download. I checked the installation layout folder and found that there are previous version packages also exists. I have removed few of them manually to complete the download process.
Visual Studio installations files folder size incrementally increase whenever we update the existing installation files. Visual Studio installation folder may have some obsolete packages that are no longer needed by the latest Visual Studio installation.
You can use the --clean option to remove obsolete packages from an offline cache folder.
Source of information: How to remove older versions from a layout
Step 1 – Find file path(s) to catalog manifest(s) that contain those obsolete packages
You can find the catalog manifests in an "Archive" folder in the offline layout cache. They are saved there when you update a layout. In the "Archive" folder, there is one or more "GUID" named folders, each of which contains an obsolete catalog manifest. The number of "GUID" folders should be the same as the number of updates made to your offline cache.
Step 2 - Run the “—clean” command by supplying the files paths to these catalogs
vs_enterprise.exe --layout d:\vs2017ent --lang en-US --clean d:\vs2017ent\Archive\d88a0497-7bee-42ad-8ea5-3361cd52e075\catalog.json

References:
Create an offline installation of Visual Studio 2017
Install Visual Studio 2017 on low bandwidth or unreliable network environments
Update a network-based installation of Visual Studio