Introduction:
In the dynamic landscape of application development, efficiency and cost-effectiveness are paramount. For developers working on projects that involve video narration, traditional methods of hiring vocal talent and managing studio resources can be both cumbersome and expensive. Enter Microsoft’s Azure AI services, offering a suite of APIs that empower developers to integrate cutting-edge text-to-speech capabilities into their applications. In this comprehensive guide, we’ll delve into the intricacies of Azure AI, providing step-by-step instructions and code snippets to help you harness its full potential for creating text-to-speech applications.
Objective:
- Establish an Azure AI services account
- Develop a command-line application for text-to-speech conversion using plain text
- Provide detailed insights and code snippets for each stage of the process
Creating a Text-to-Speech Application using a Text File
Step 1: Creating an Azure AI Services Account
- Begin by navigating to the Azure portal and signing in with your credentials.
-
Once logged in, locate the Azure AI services section and proceed to create a new account.
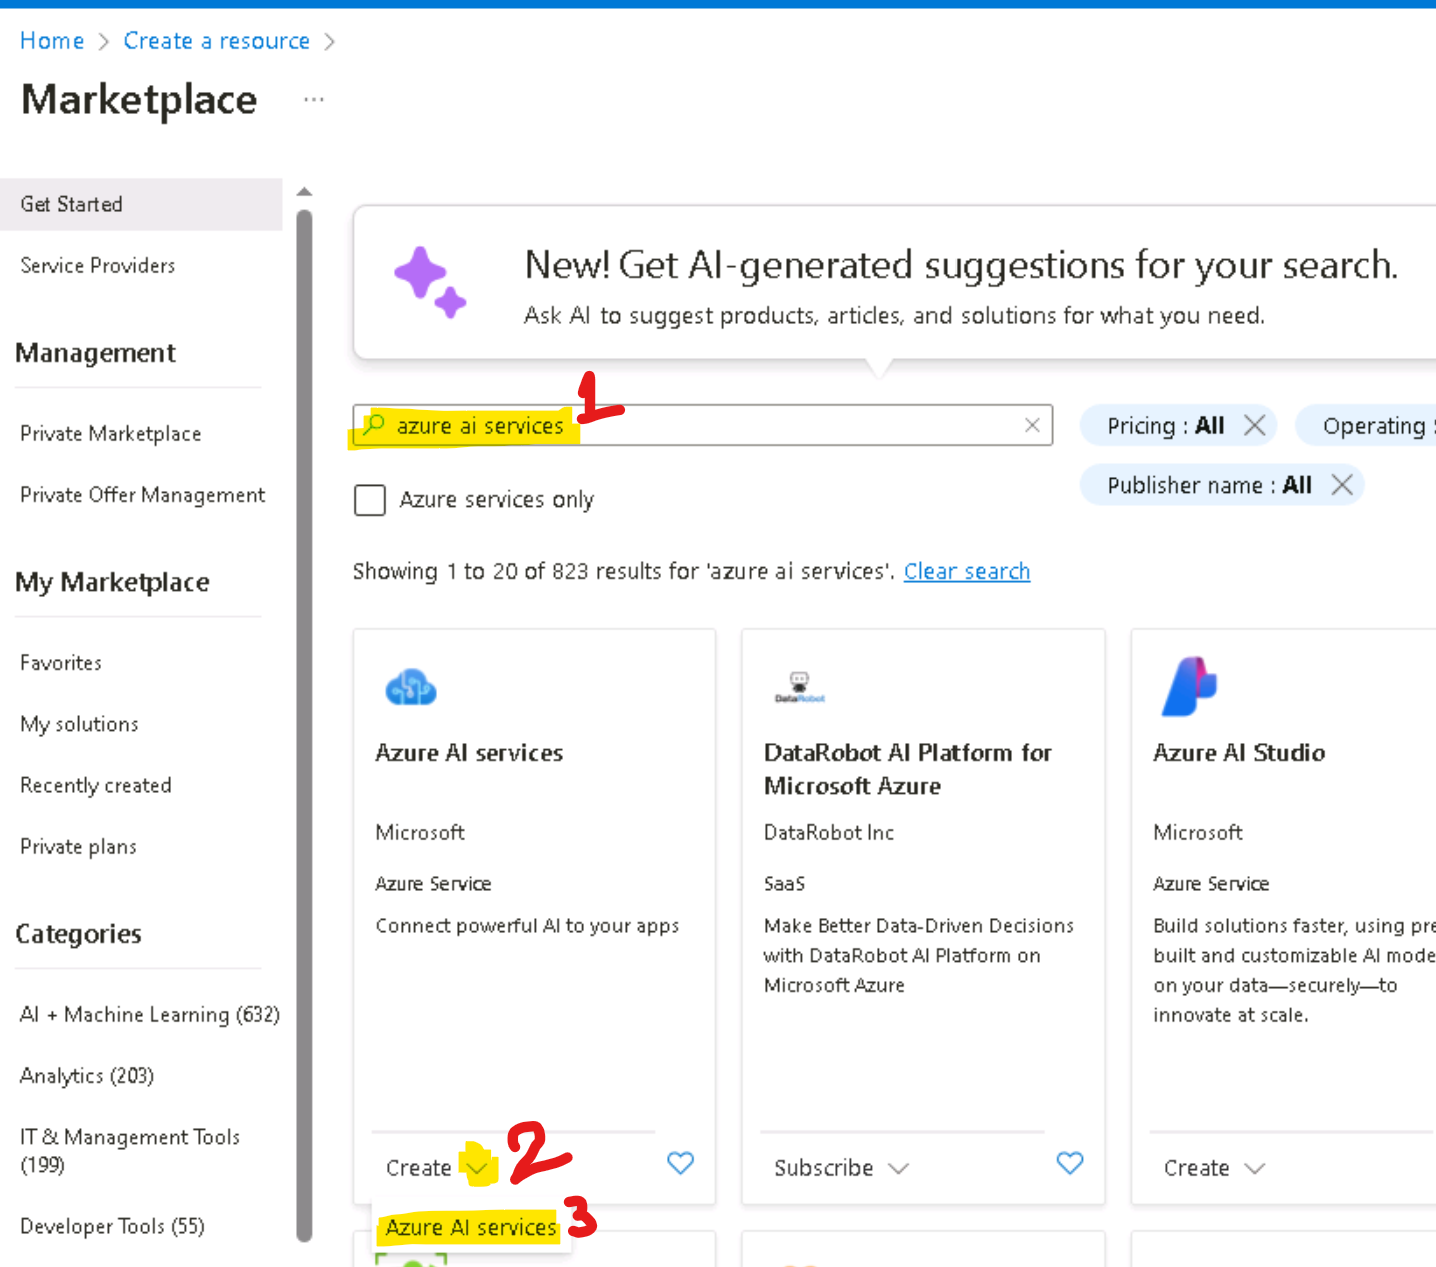
-
In the Create Azure AI window, under the Basics tab, enter the following details and click on the Review+create button.
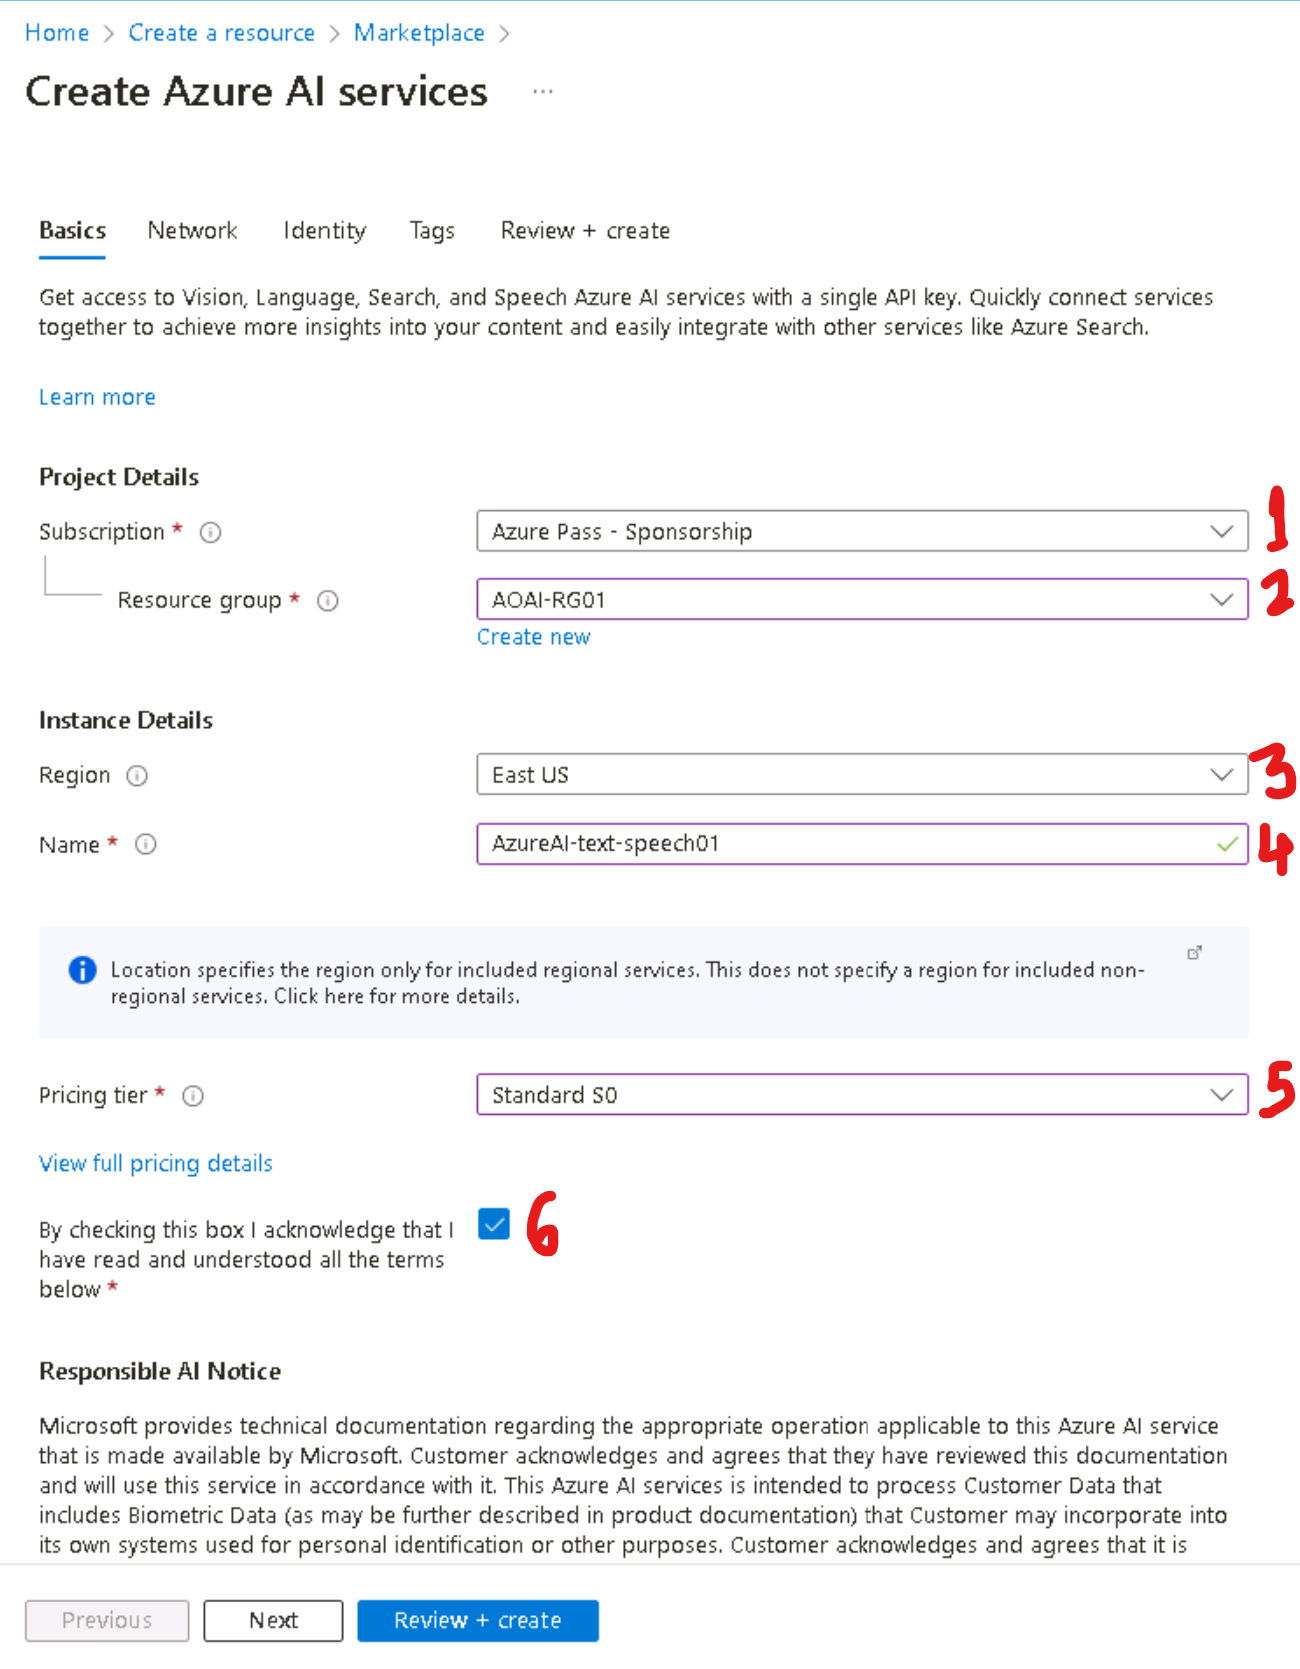
-
In the Review+submit tab, once the Validation is Passed, click on the Create button.
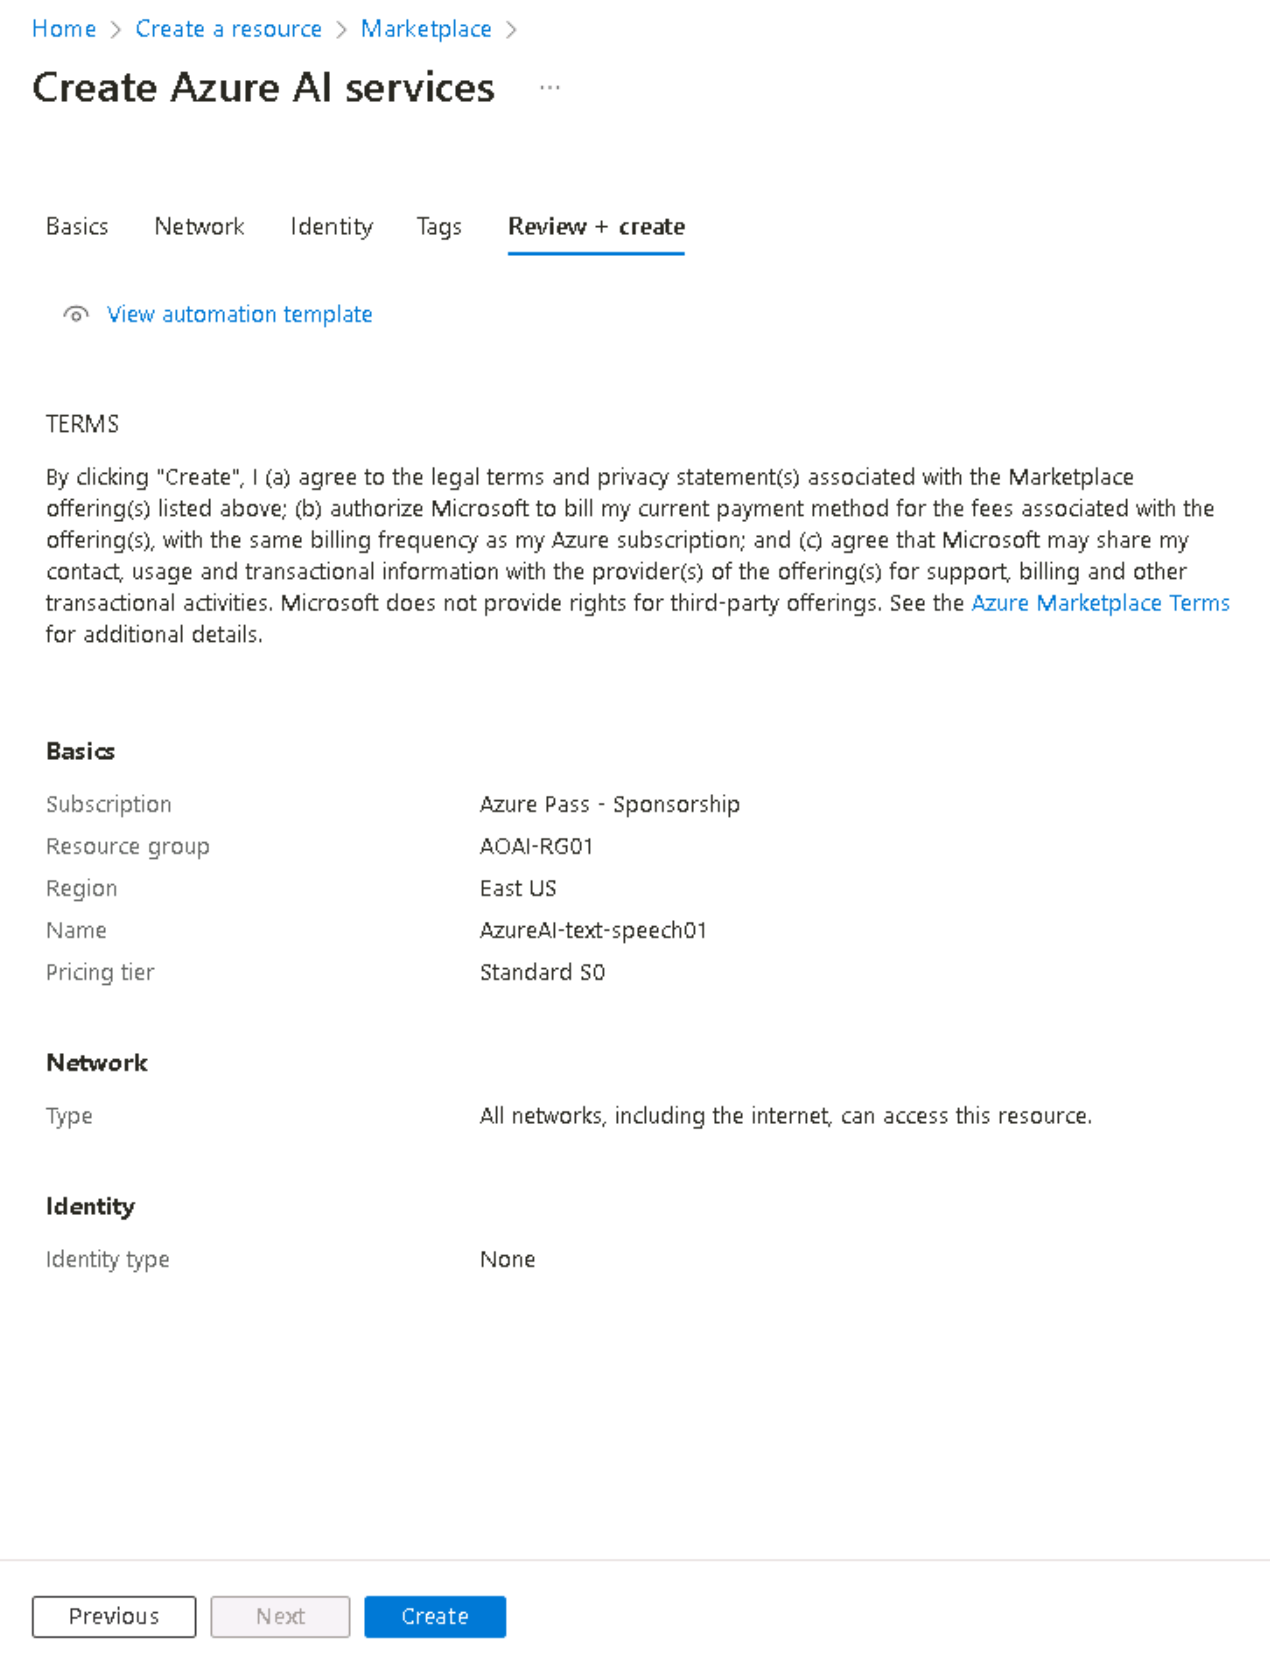
- Wait for the deployment to complete. The deployment will take around 2-3 minutes.
-
After the deployment is completed, click on the Go to resource button.
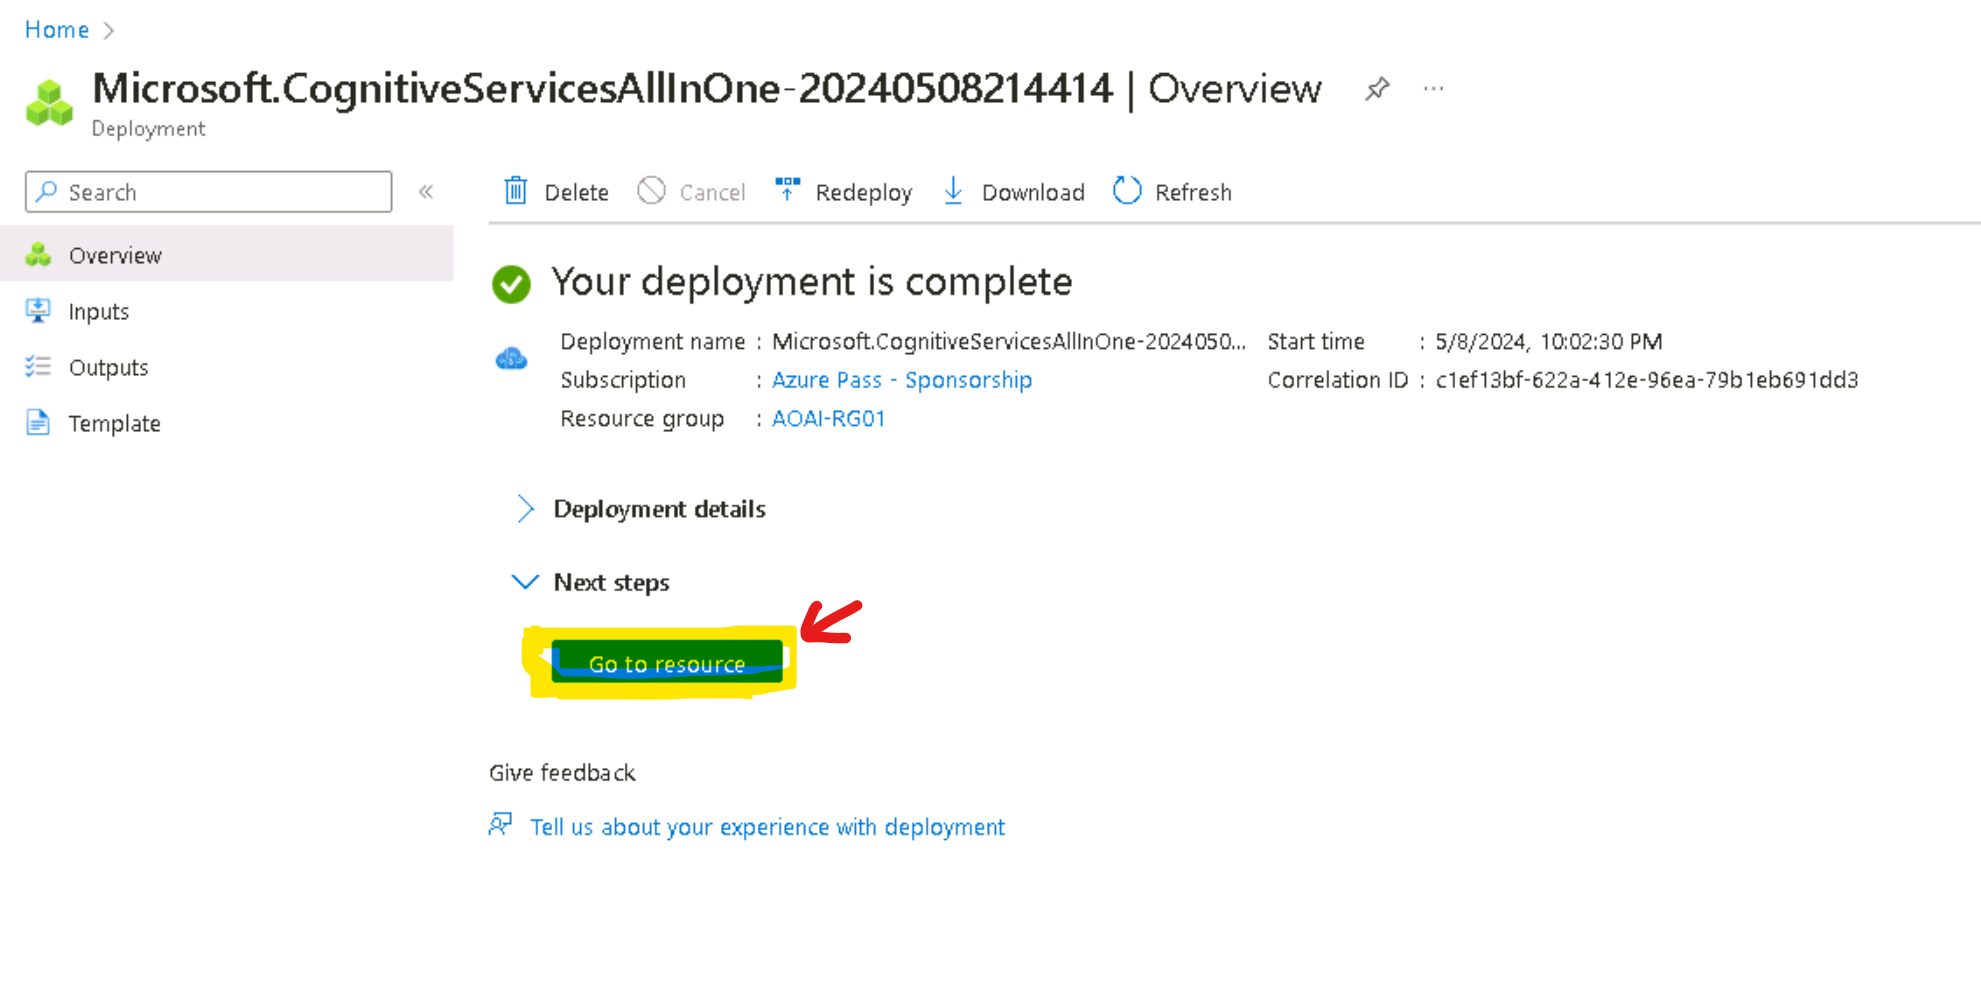
-
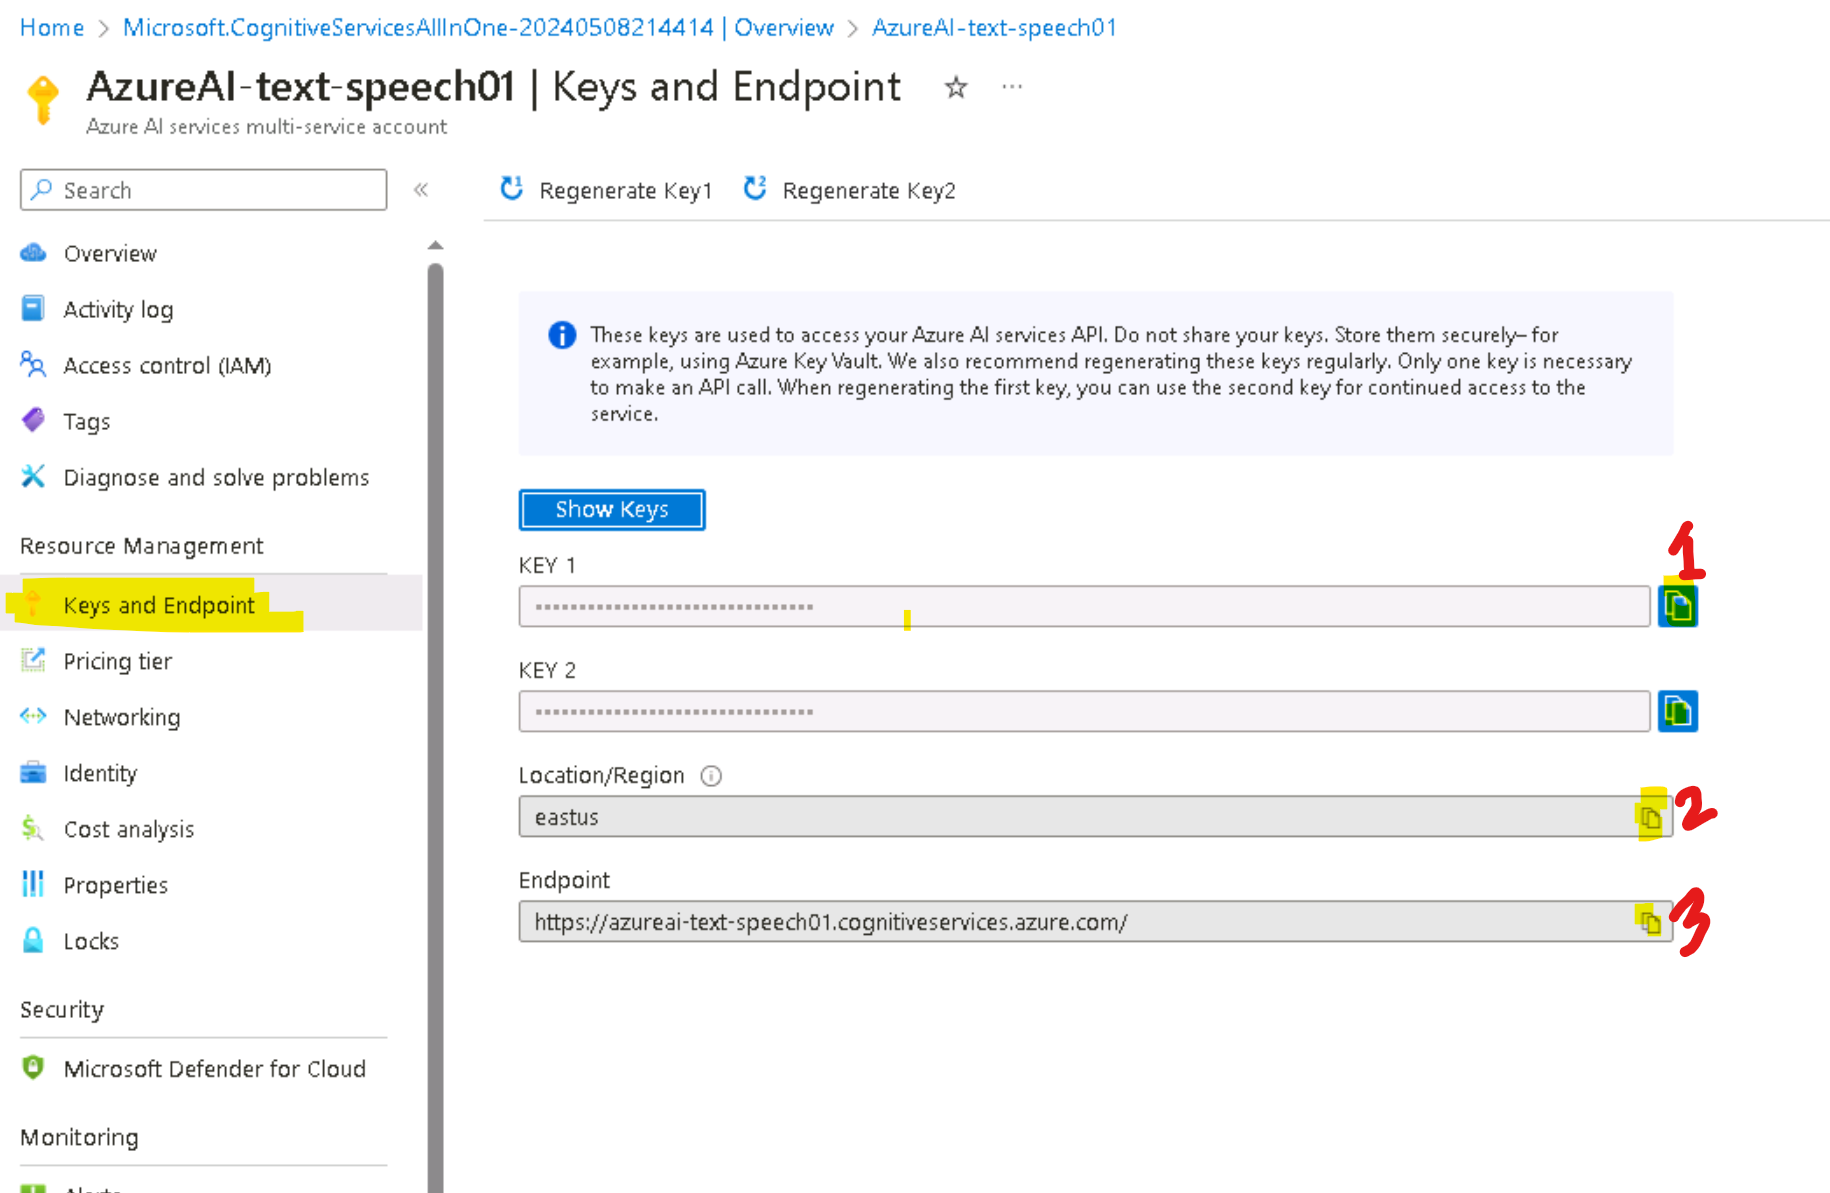
In your AzureAI-text-speechXX window, navigate to the Resource Management section and click on Keys and Endpoints.

-
Configure the account settings according to your requirements.In the Keys and Endpoints page, copy KEY1, Region, and Endpoint values and paste them into a notepad as shown in the below image, then Save the notepad for later use.
Step 2: Create your text to speech application
-
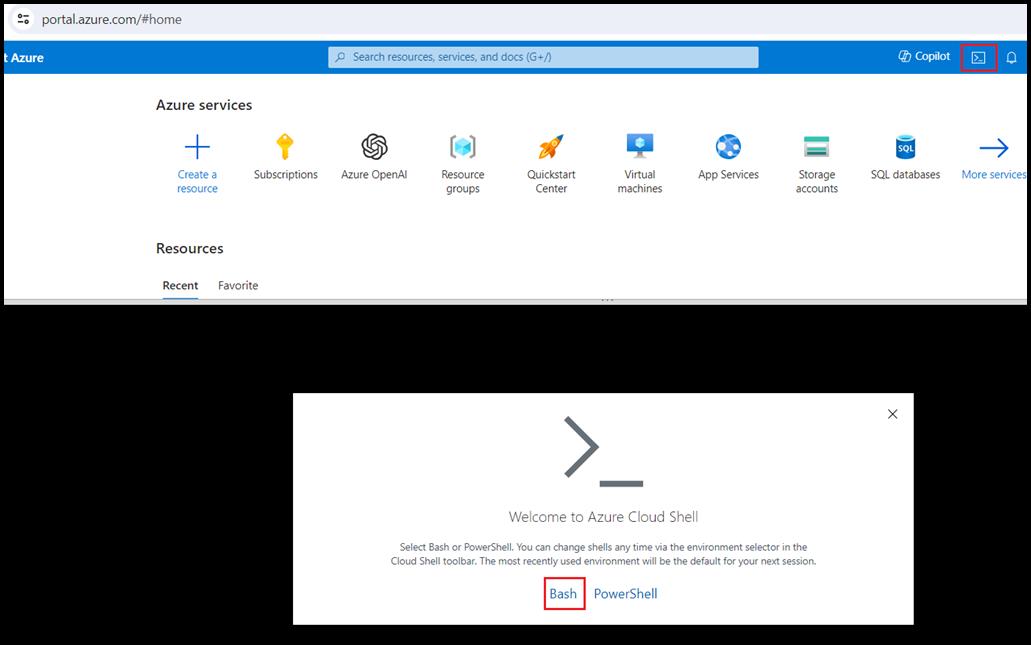
In the Azure portal, click on the [>_] (Cloud Shell) button at the top of the page to the right of the search box. A Cloud Shell pane will open at the bottom of the portal. The first time you open the Cloud Shell, you may be prompted to choose the type of shell you want to use (Bash or PowerShell). Select Bash. If you don’t see this option, then you can go ahead and skip this step.
-
In You have no storage mounted dialog box, click on the Create storage.

-
Ensure the type of shell indicated on the top left of the Cloud Shell pane is switched to Bash. If it’s PowerShell, switch to Bash by using the drop-down menu.

-
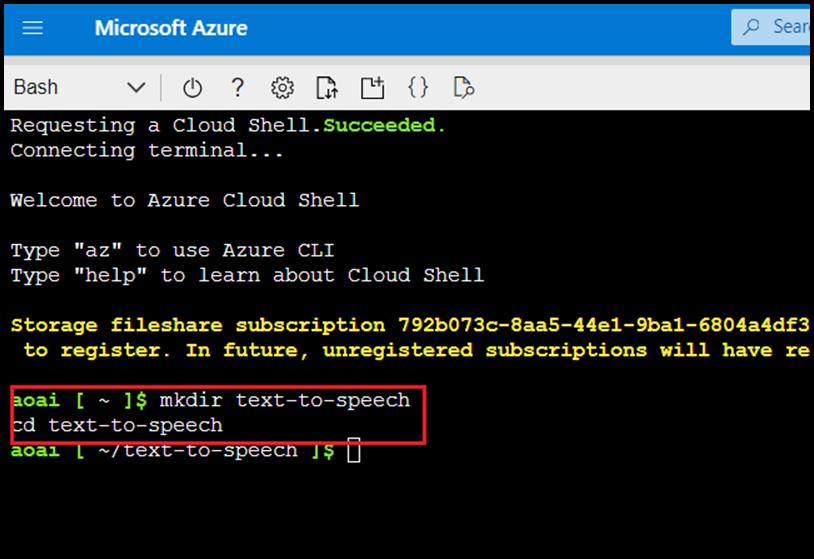
In the Cloud Shell on the right, create a directory for your application, then switch folders to your new folder. Enter the following command
mkdir text-to-speech
cd text-to-speech
-
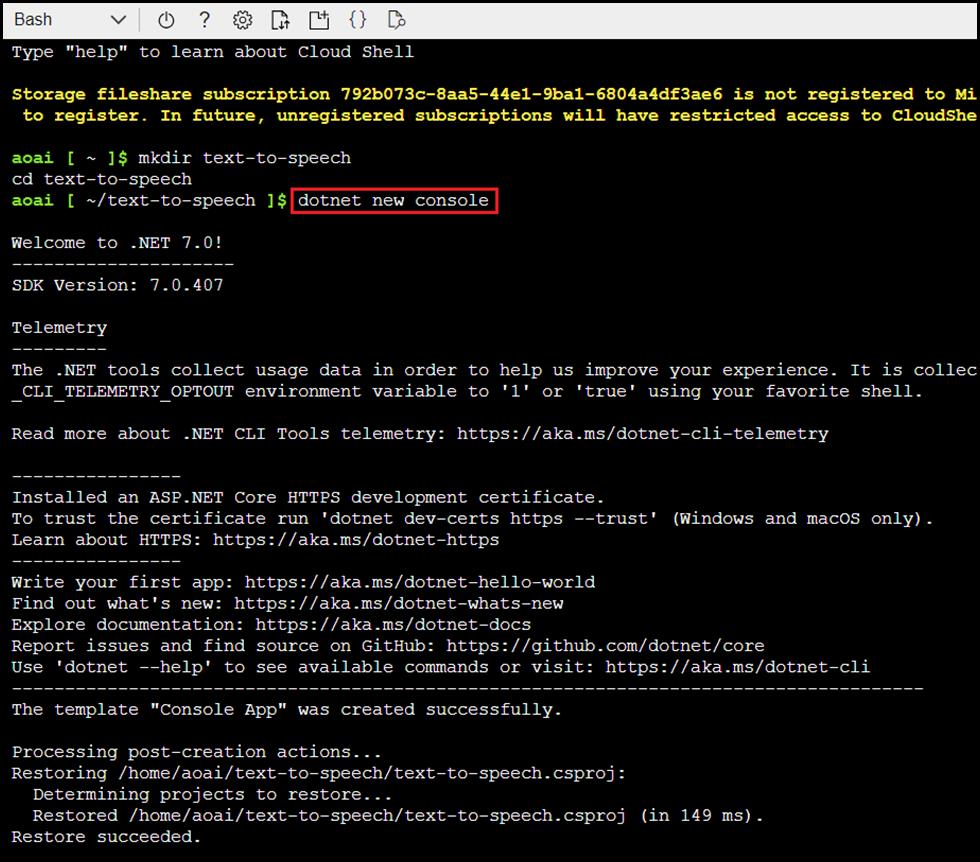
Enter the following command to create a new .NET Core application. This command should take a few seconds to complete.
dotnet new console
-
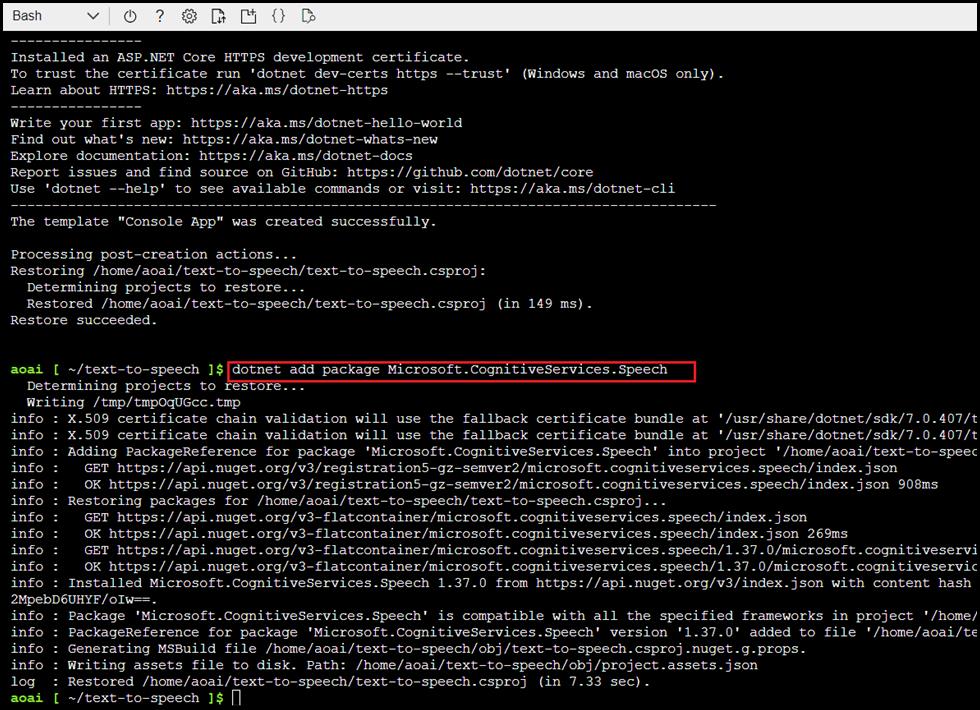
When your .NET Core application has been created, add the Speech SDK package to your application. This command should take a few seconds to complete.
dotnet add package Microsoft.CognitiveServices.Speech
Step 3:Add the code for your text to speech application
-
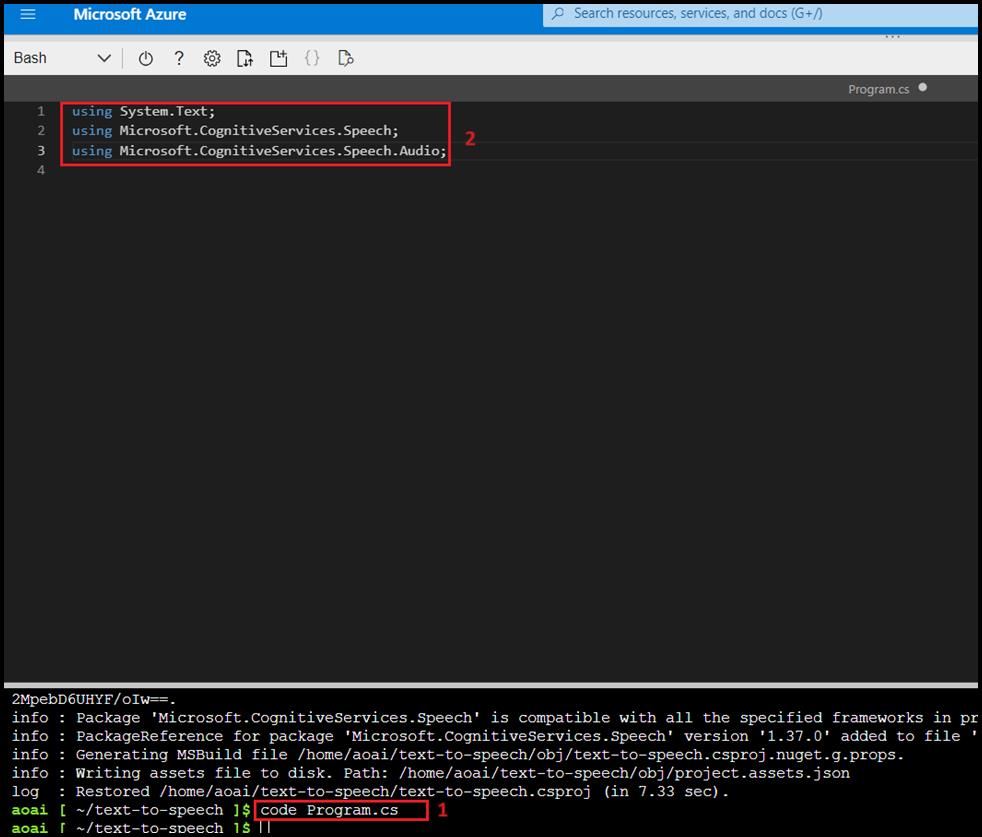
In the Cloud Shell on the right, open the Program.cs file using the following command.
code Program.cs
-
Replace the existing code with the following using statements, which enable the Azure AI Speech APIs for your application:
using System.Text;
using Microsoft.CognitiveServices.Speech;
using Microsoft.CognitiveServices.Speech.Audio;
-
Below the using statements, add the following code, which uses Azure AI Speech APIs to convert the contents of the text file you’ll create into a WAV file with the synthesized voice. Replace the azureKey and azureLocation values with the ones you copied in the last task 1.
string azureKey = "ENTER YOUR KEY FROM THE FIRST EXERCISE";
string azureLocation = "ENTER YOUR LOCATION FROM THE FIRST EXERCISE";
string textFile = "Shakespeare.txt";
string waveFile = "Shakespeare.wav";

try
{
    FileInfo fileInfo = new FileInfo(textFile);
    if (fileInfo.Exists)
    {
        string textContent = File.ReadAllText(fileInfo.FullName);
        var speechConfig = SpeechConfig.FromSubscription(azureKey, azureLocation);
        using var speechSynthesizer = new SpeechSynthesizer(speechConfig, null);
        var speechResult = await speechSynthesizer.SpeakTextAsync(textContent);
        using var audioDataStream = AudioDataStream.FromResult(speechResult);
        await audioDataStream.SaveToWaveFileAsync(waveFile);
    }
}
catch (Exception ex)
{
    Console.WriteLine(ex.Message);

}
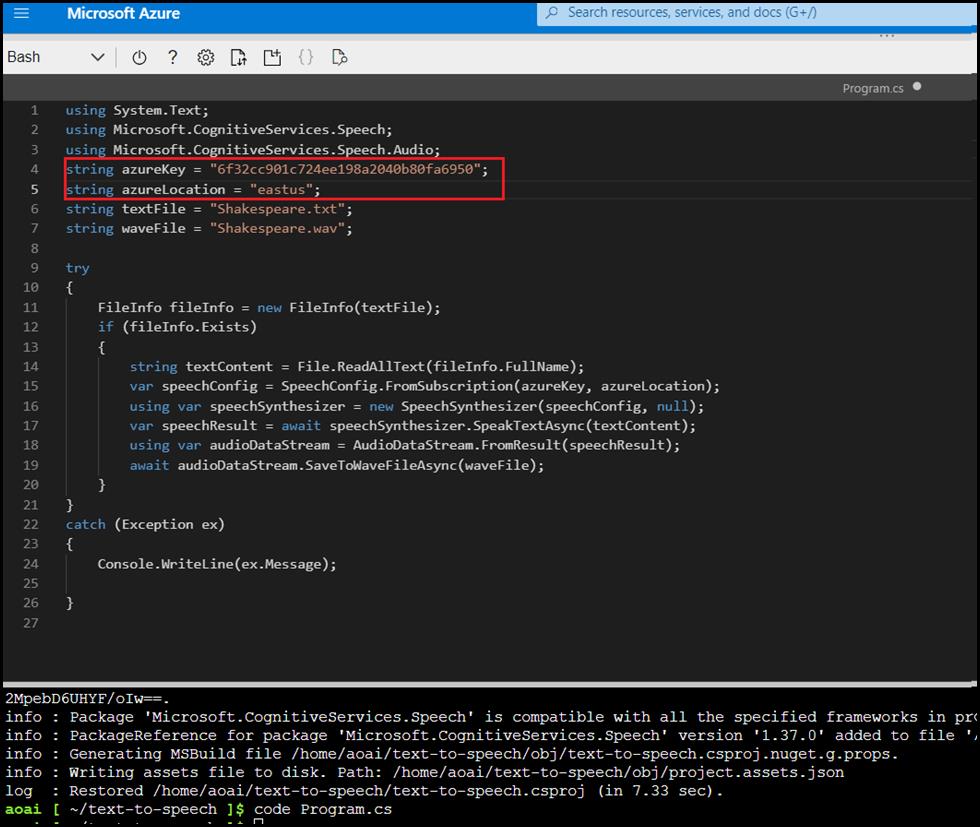
- This code uses your key and location to initialize a connection to Azure AI services, then reads the contents of the text file you\‘ll create, then uses the SpeakTextAsync() method of the speech synthesizer to convert the text to audio, then uses an audio stream to save the results to an audio file.
- To save your changes, press Ctrl+S to save the file, and then press Ctrl+Q to exit the editor
Step 4: Create a text file for your application to read
-
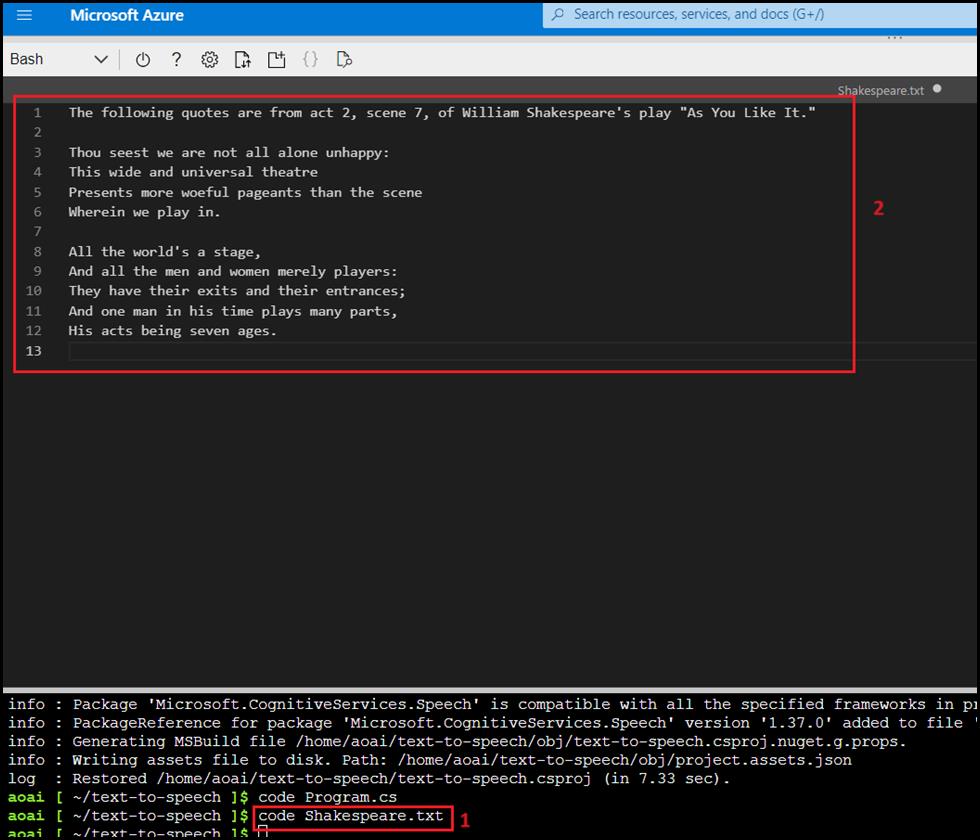
In the Cloud Shell on the right, create a new text file that your application will read:
code Shakespeare.txt
-
When the code editor appears, enter the following text.
The following quotes are from act 2, scene 7, of William Shakespeare's play "As You Like It."

Thou seest we are not all alone unhappy:
This wide and universal theatre
Presents more woeful pageants than the scene
Wherein we play in.

All the world's a stage,
And all the men and women merely players:
They have their exits and their entrances;
And one man in his time plays many parts,
His acts being seven ages.
-
To save your changes, press Ctrl+S to save the file, and then press Ctrl+Q to exit the editor
Step 5:Run your application
-
To run your application, use the following command in the Cloud Shell on the right:
dotnet run
-
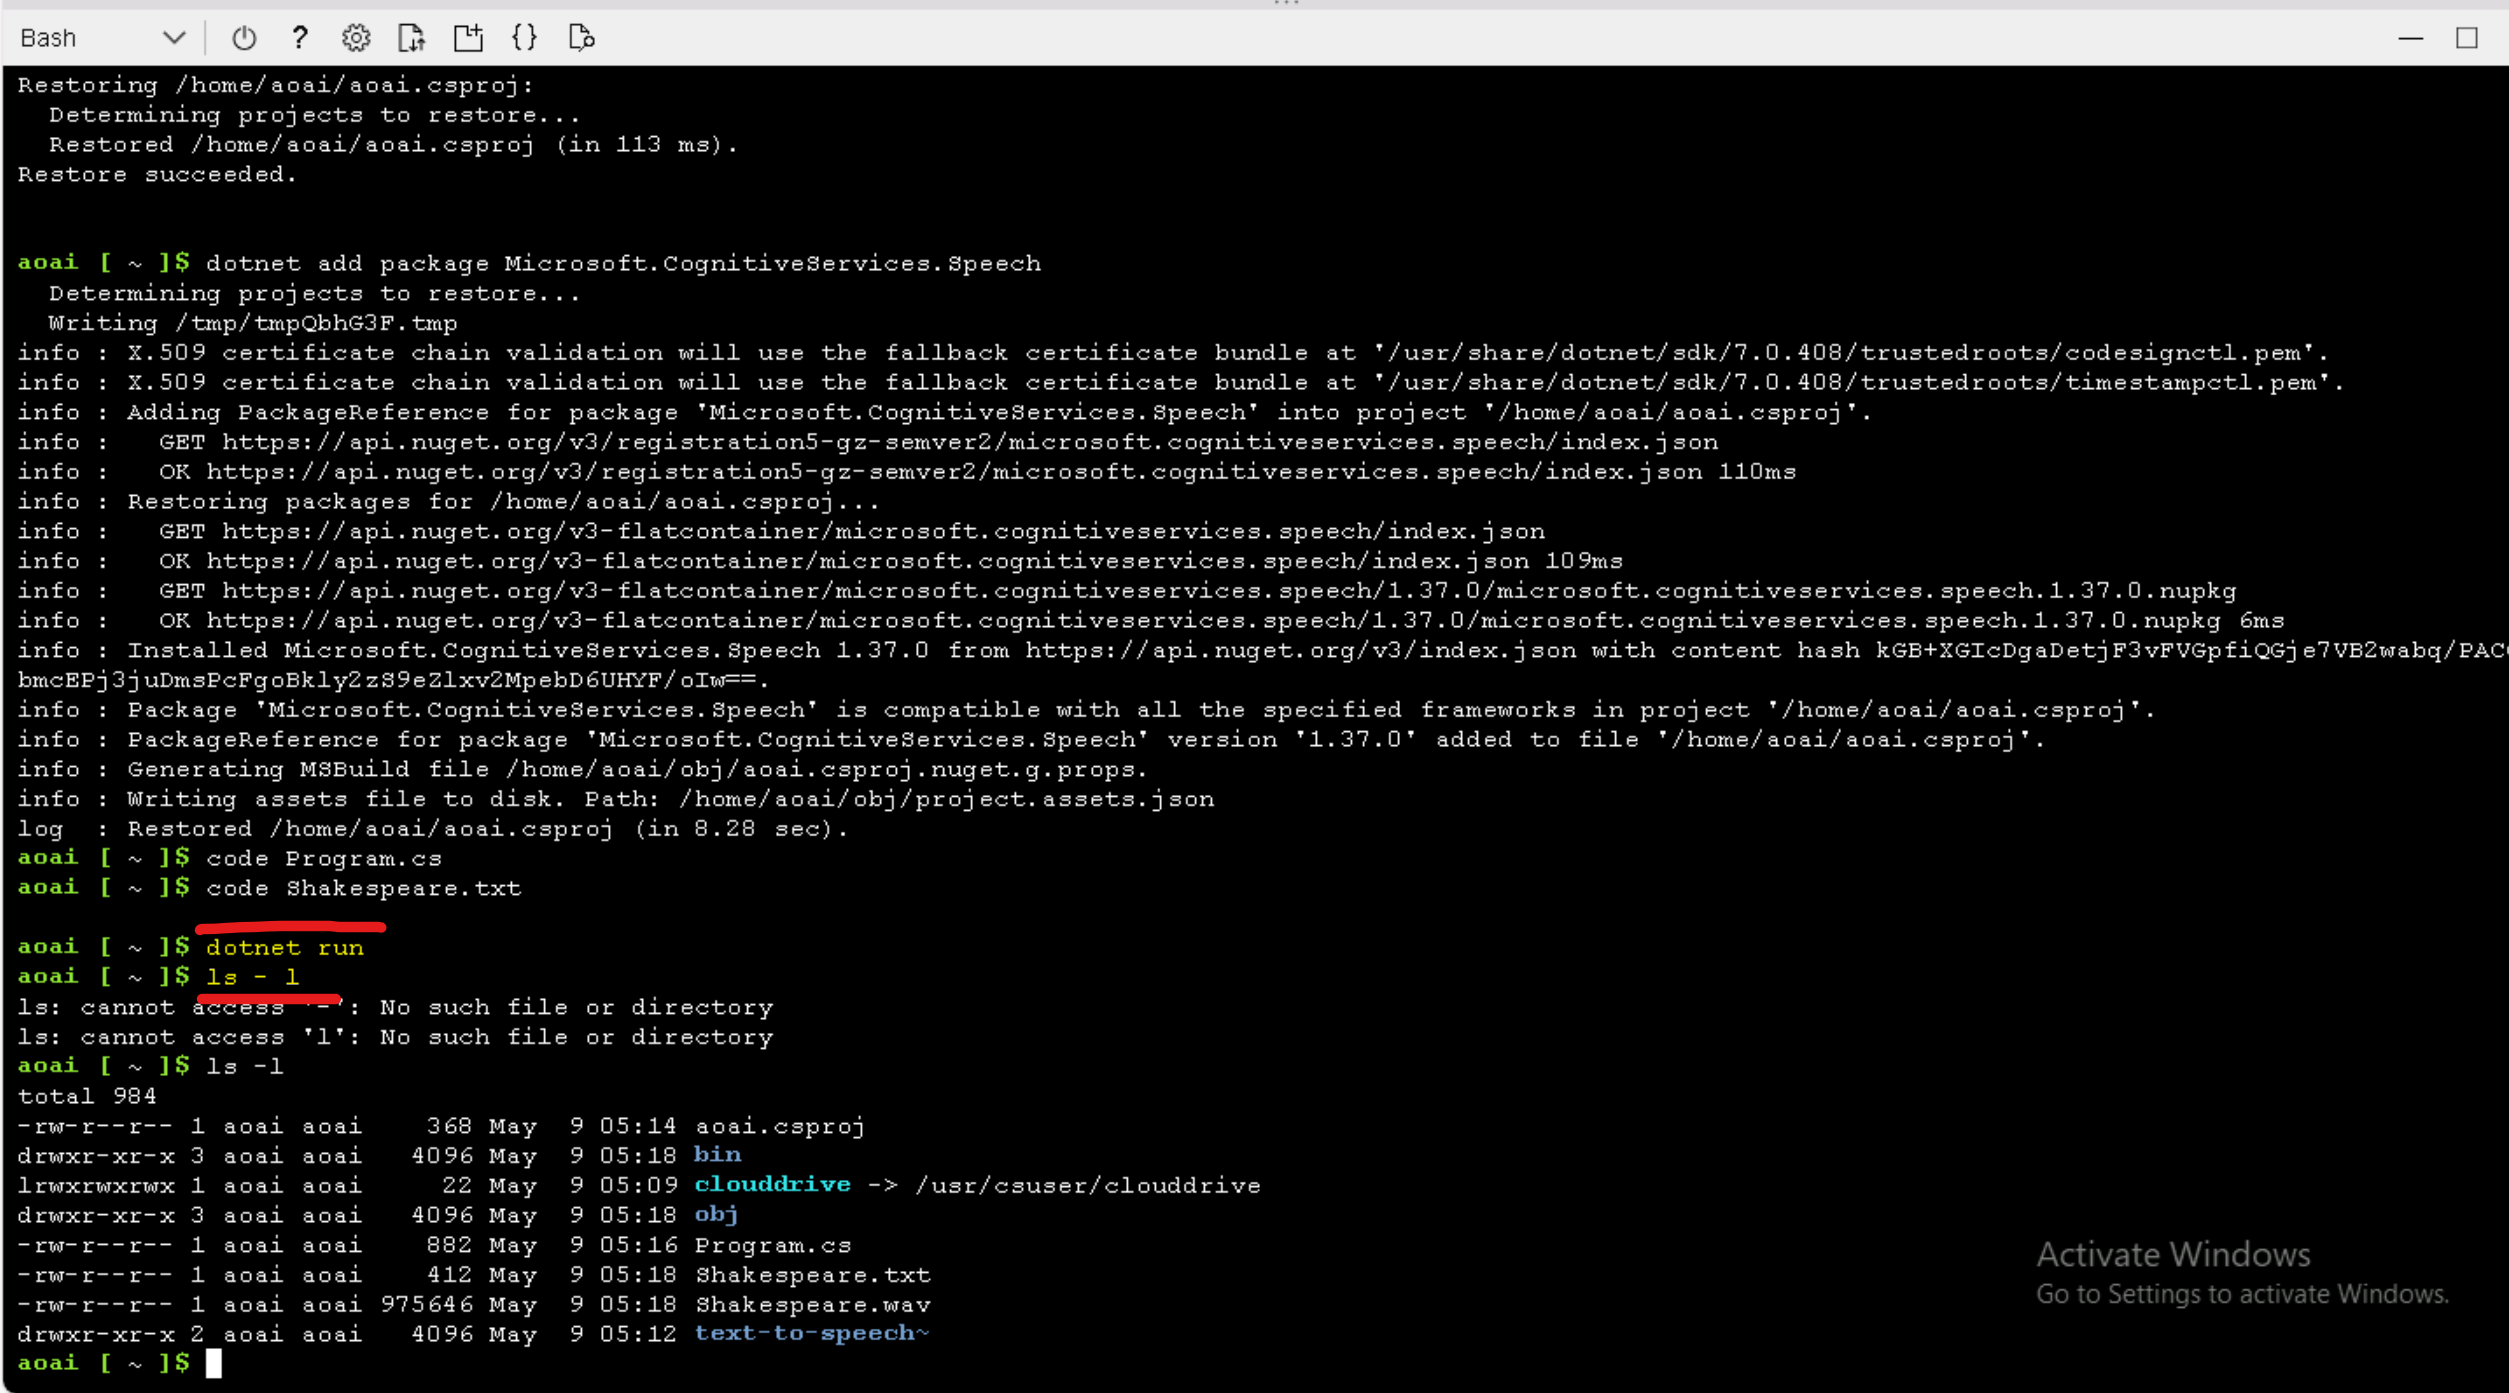
If you don’t see any errors, your application has run successfully. To verify, you can just run the following command to get a list of files in the directory.
ls -l
-
You should get a response like the following example, and you should have the Shakespeare.wav file in the list of files
Step 6: Listen to WAV file
To listen to the WAV file that your application created, you’ll first need to download it. To do so, you can just use the following steps.
-
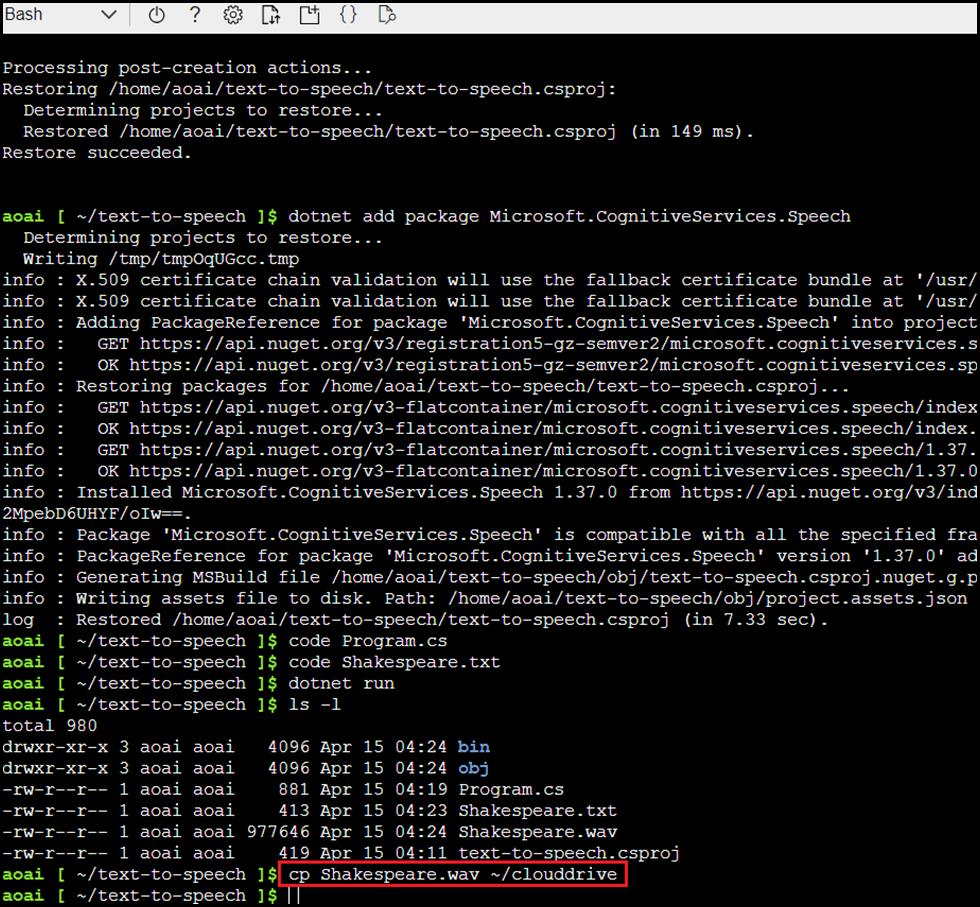
In the Cloud Shell on the right, use the following command to copy the WAV file to your temporary cloud drive:
cp Shakespeare.wav ~/clouddrive
-
In the Azure portal search box, type Storage account, then click on Storage account under Services.

-
In the Storage accounts page, navigate and click on cloud storage account .

-
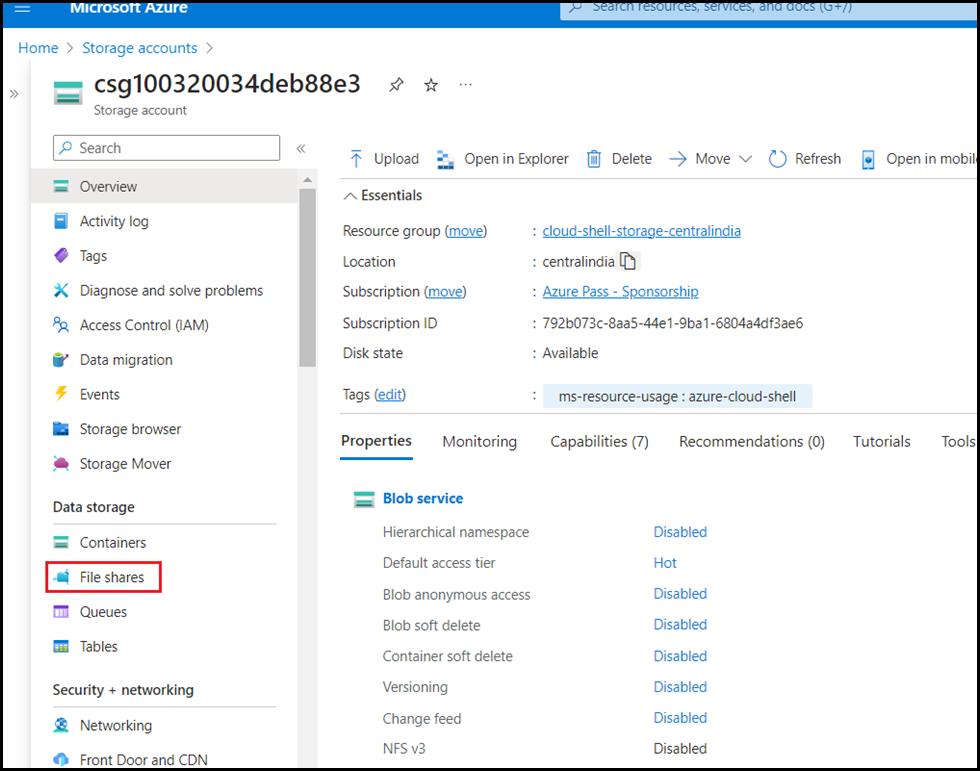
In the Storage account page left-sided navigation menu, navigate to the Data storage section, then click on the File shares.
-
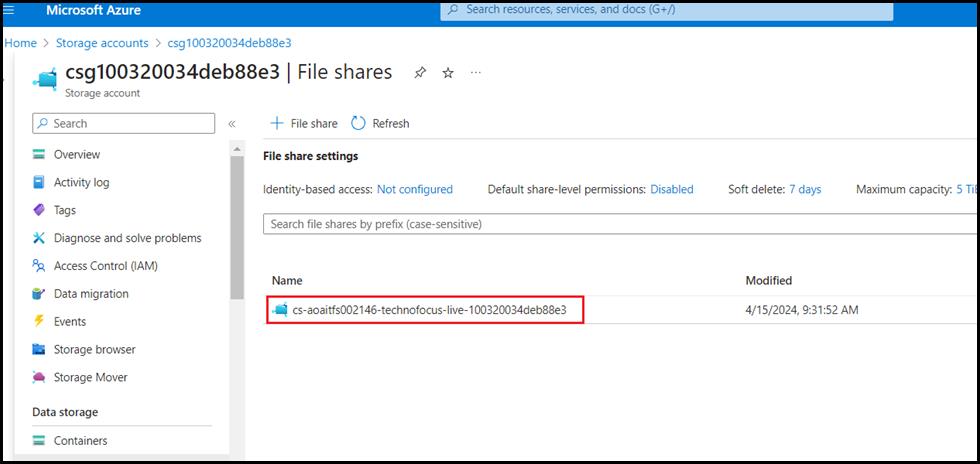
Then select your cloudshellfilesXXX file share.
-
When your cloudshellfilesXXX file shares page is displayed, select Browse, then select the Shakespeare.wav file, then select the Download icon.

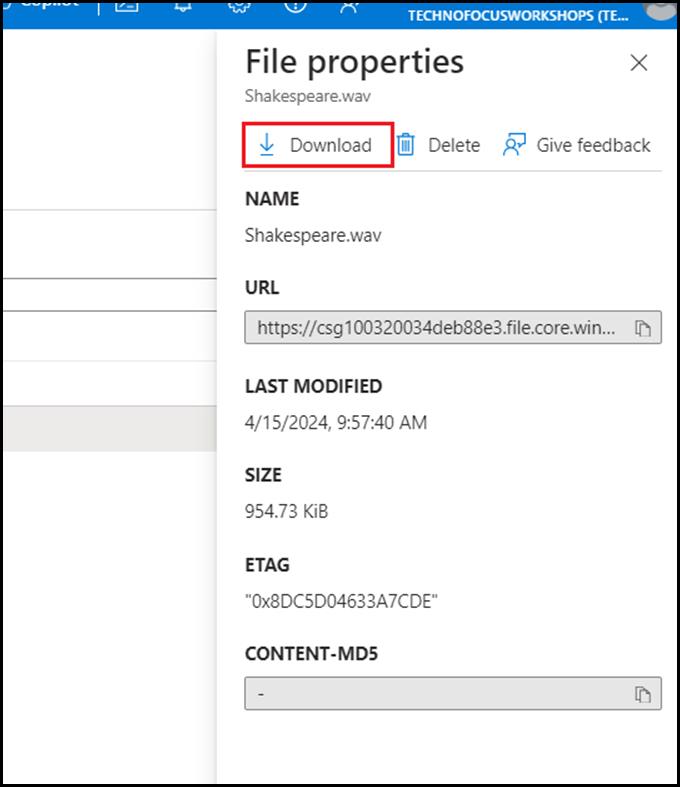
-
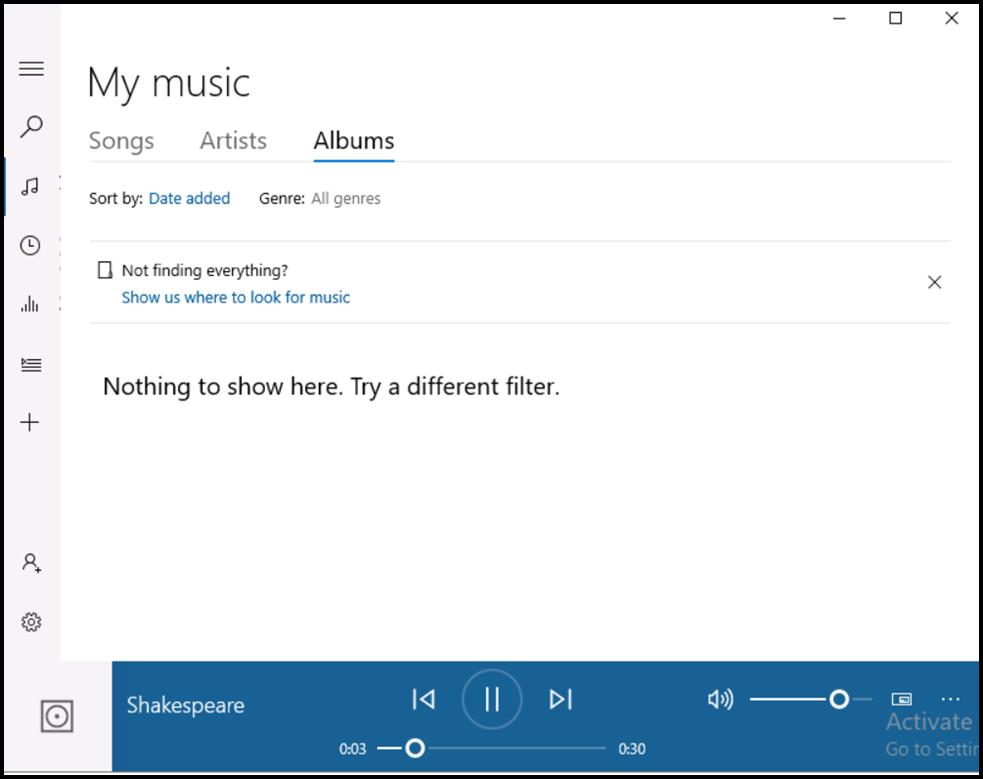
Download the Shakespeare.wav file to your computer, where you can listen to it with your operating system’s audio player.

Conclusion:
Following the comprehensive instructions and the provided code snippets, you can seamlessly leverage Azure AI services to integrate text-to-speech capabilities into your applications. Azure AI empowers developers to enhance user experiences and streamline workflow processes. Embrace the power of Azure AI and unlock new possibilities for your projects.